Introduction to Microgreens
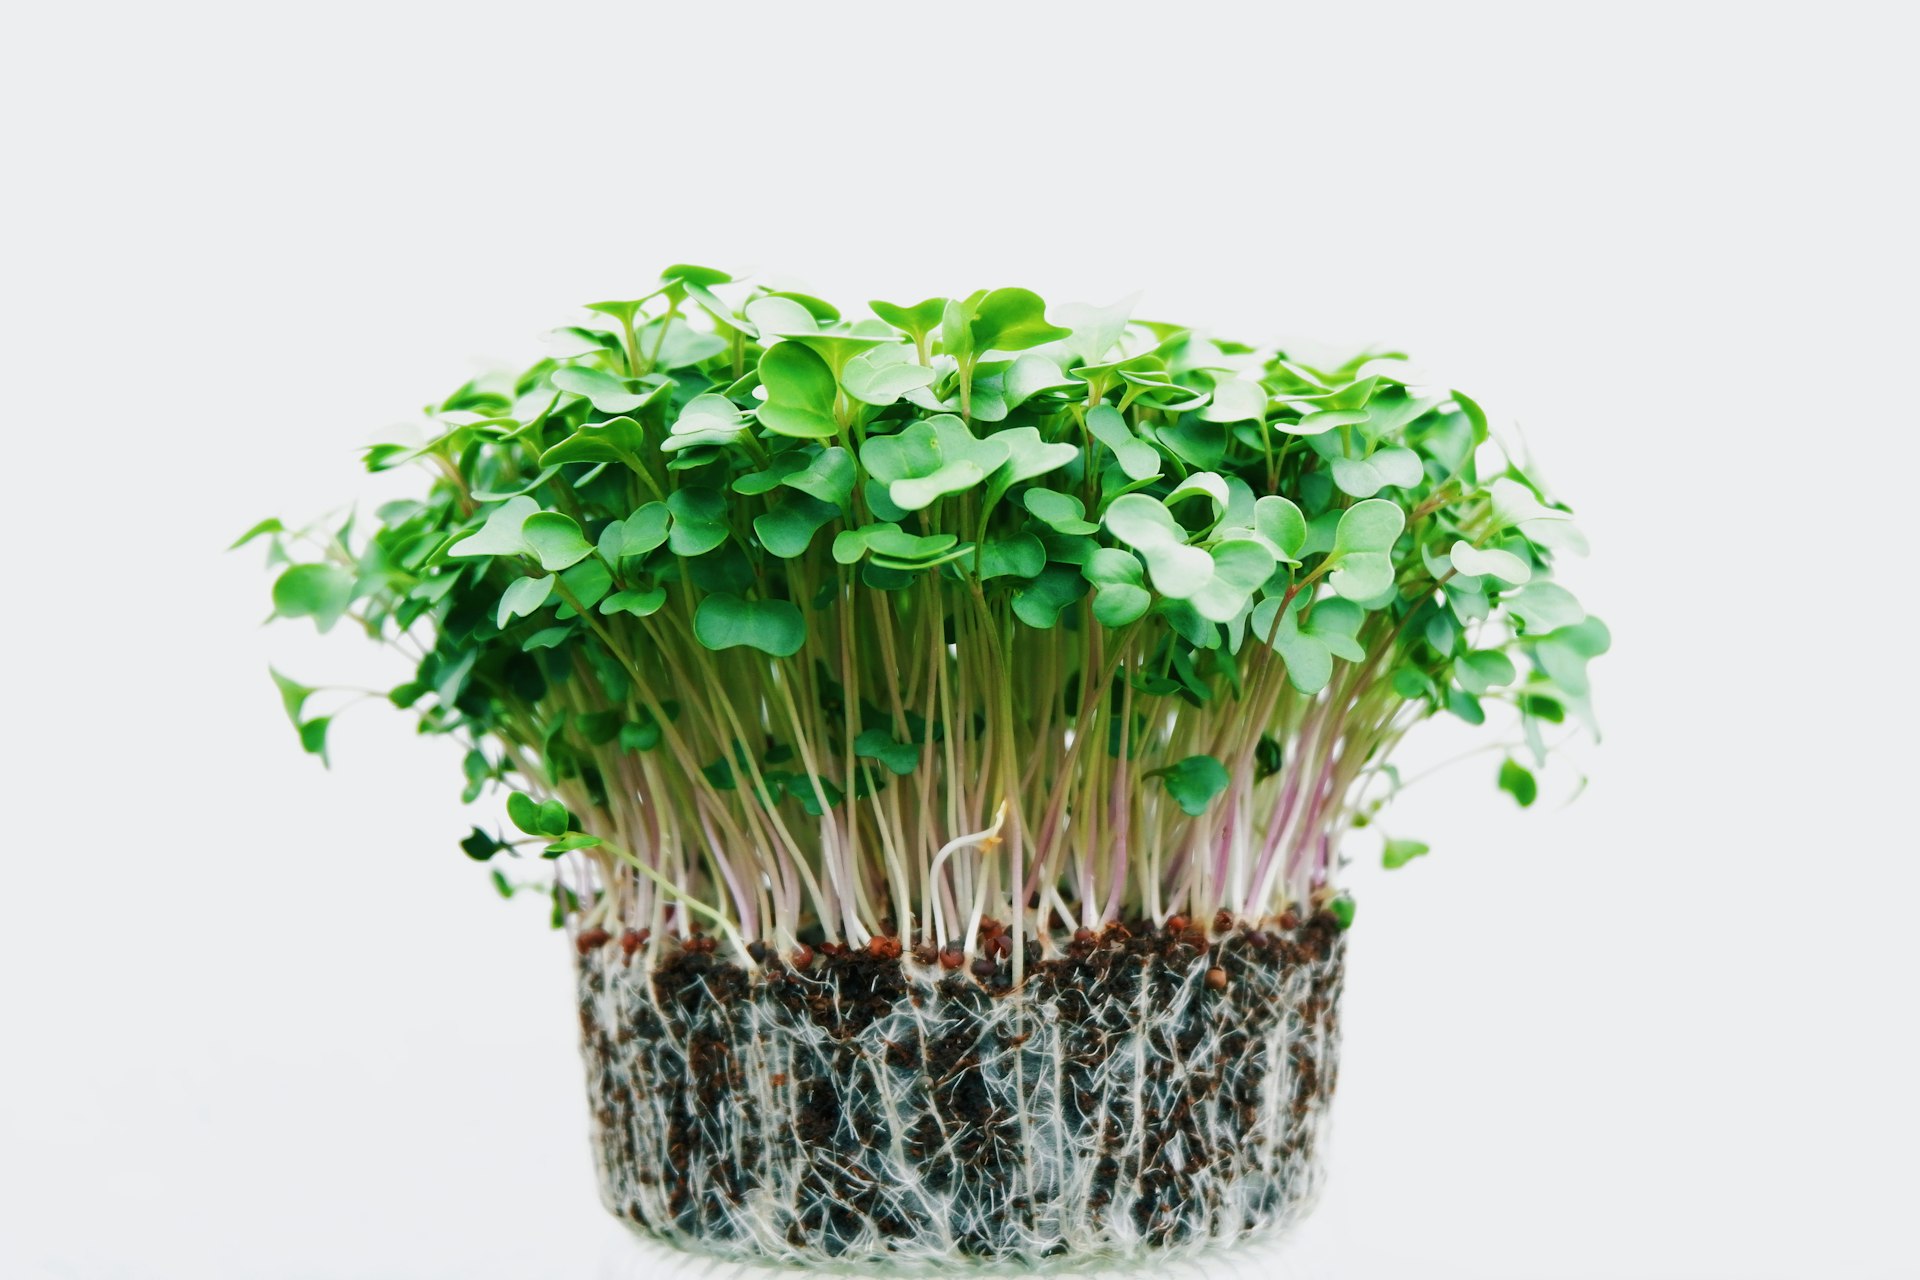
Microgreens are young plants harvested just after the first true leaves have developed, typically within 7 to 21 days of germination. They offer an exciting and flavorful addition to various culinary creations, boasting an array of colors and textures that can significantly enhance dishes. These tiny greens, ranging from the familiar broccoli and radish to more exotic varieties like arugula and beet, have gained immense popularity among home gardeners and chefs alike due to their robust nutritional profile. Packed with vitamins, minerals, and antioxidants, microgreens are often considered nutrient-dense superfoods, providing health benefits that can support overall well-being.
The nutritional advantages of microgreens are particularly noteworthy. Research has shown that many microgreens deliver higher concentrations of beneficial nutrients compared to their mature counterparts. For instance, microgreens like kale and cabbage contain significantly more vitamins C, E, and K than the fully mature leaves. This makes them an attractive choice for those looking to boost their intake of essential nutrients while enjoying a burst of flavor and color in their meals.
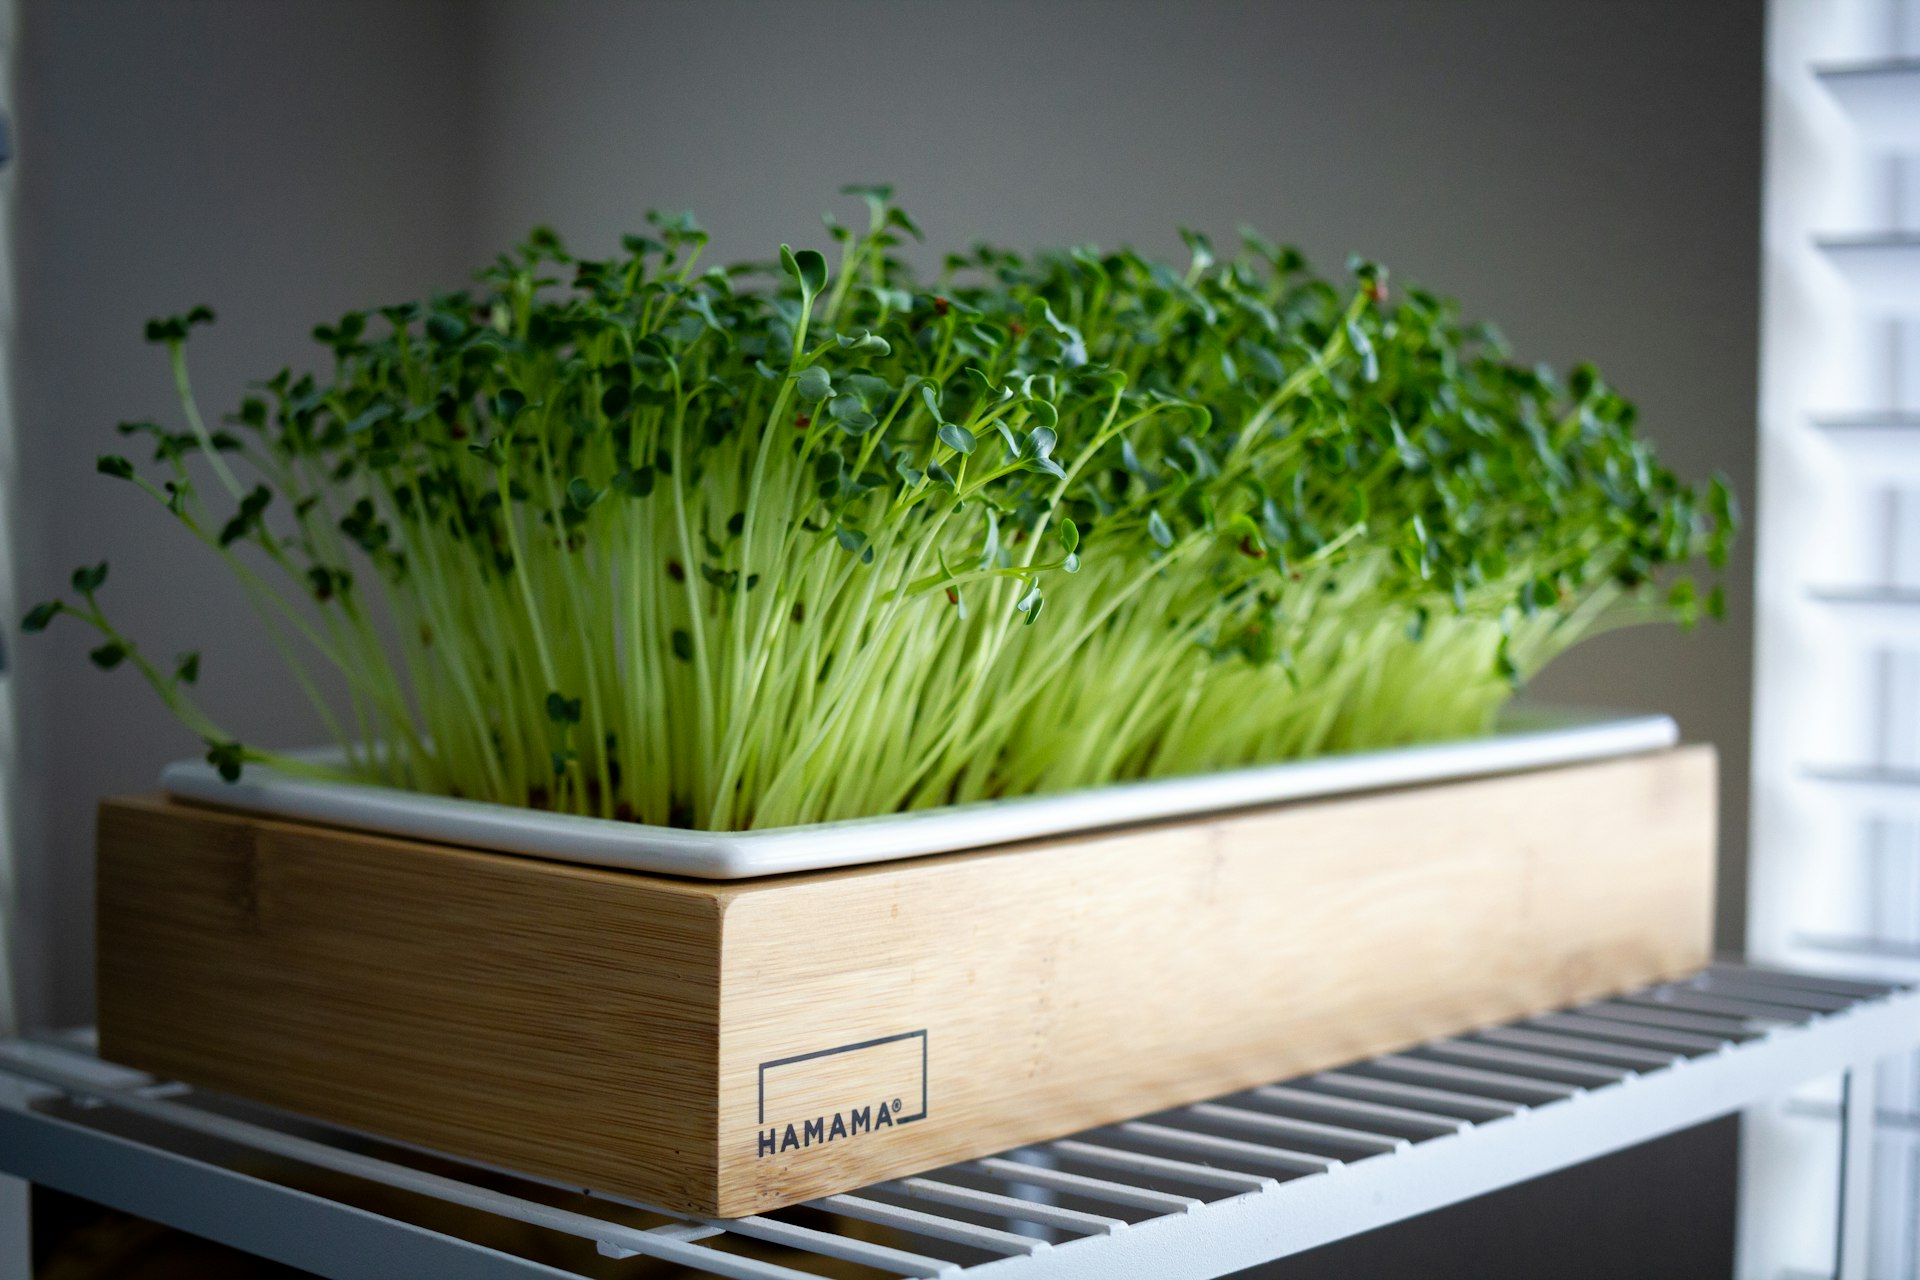
The appeal of growing microgreens at home lies in their ease and speed of cultivation. Home growers can cultivate these greens in small spaces, making them ideal for apartment dwellers or anyone with limited outdoor gardening opportunities. Additionally, the process requires minimal equipment and can be accomplished using just soil, seeds, and a shallow container. This accessibility has led to an increase in home gardening popularity, as individuals seek to embrace healthier eating habits and enjoy fresh produce year-round.
In summary, microgreens represent a versatile and beneficial addition to any diet. With their dense nutrient content, variety of flavors, and ease of cultivation, they are an ideal choice for those interested in enhancing their culinary experience while promoting a healthier lifestyle.
Getting Started: Supplies and Setup
To successfully grow microgreens at home, it is essential to gather the right supplies and set up an appropriate environment. The primary items required include containers, soil, seeds, and watering tools. Depending on personal preferences, one can choose from plastic trays, shallow pots, or even recycled materials such as takeout containers for growing microgreens. Selecting containers with drainage holes is crucial, as this helps prevent waterlogging, which could hinder seedling growth.
When it comes to soil, a lightweight mix designed specifically for seedling growth is often recommended for microgreens. This type of soil retains moisture while providing adequate aeration, ensuring that the young plants receive the necessary nutrients. Many growers also prefer organic soil mixes that are free from additives and chemicals, contributing to healthier microgreens. For those who are interested in a more economical option, using a soilless medium, such as coconut coir or peat, can also yield positive results.
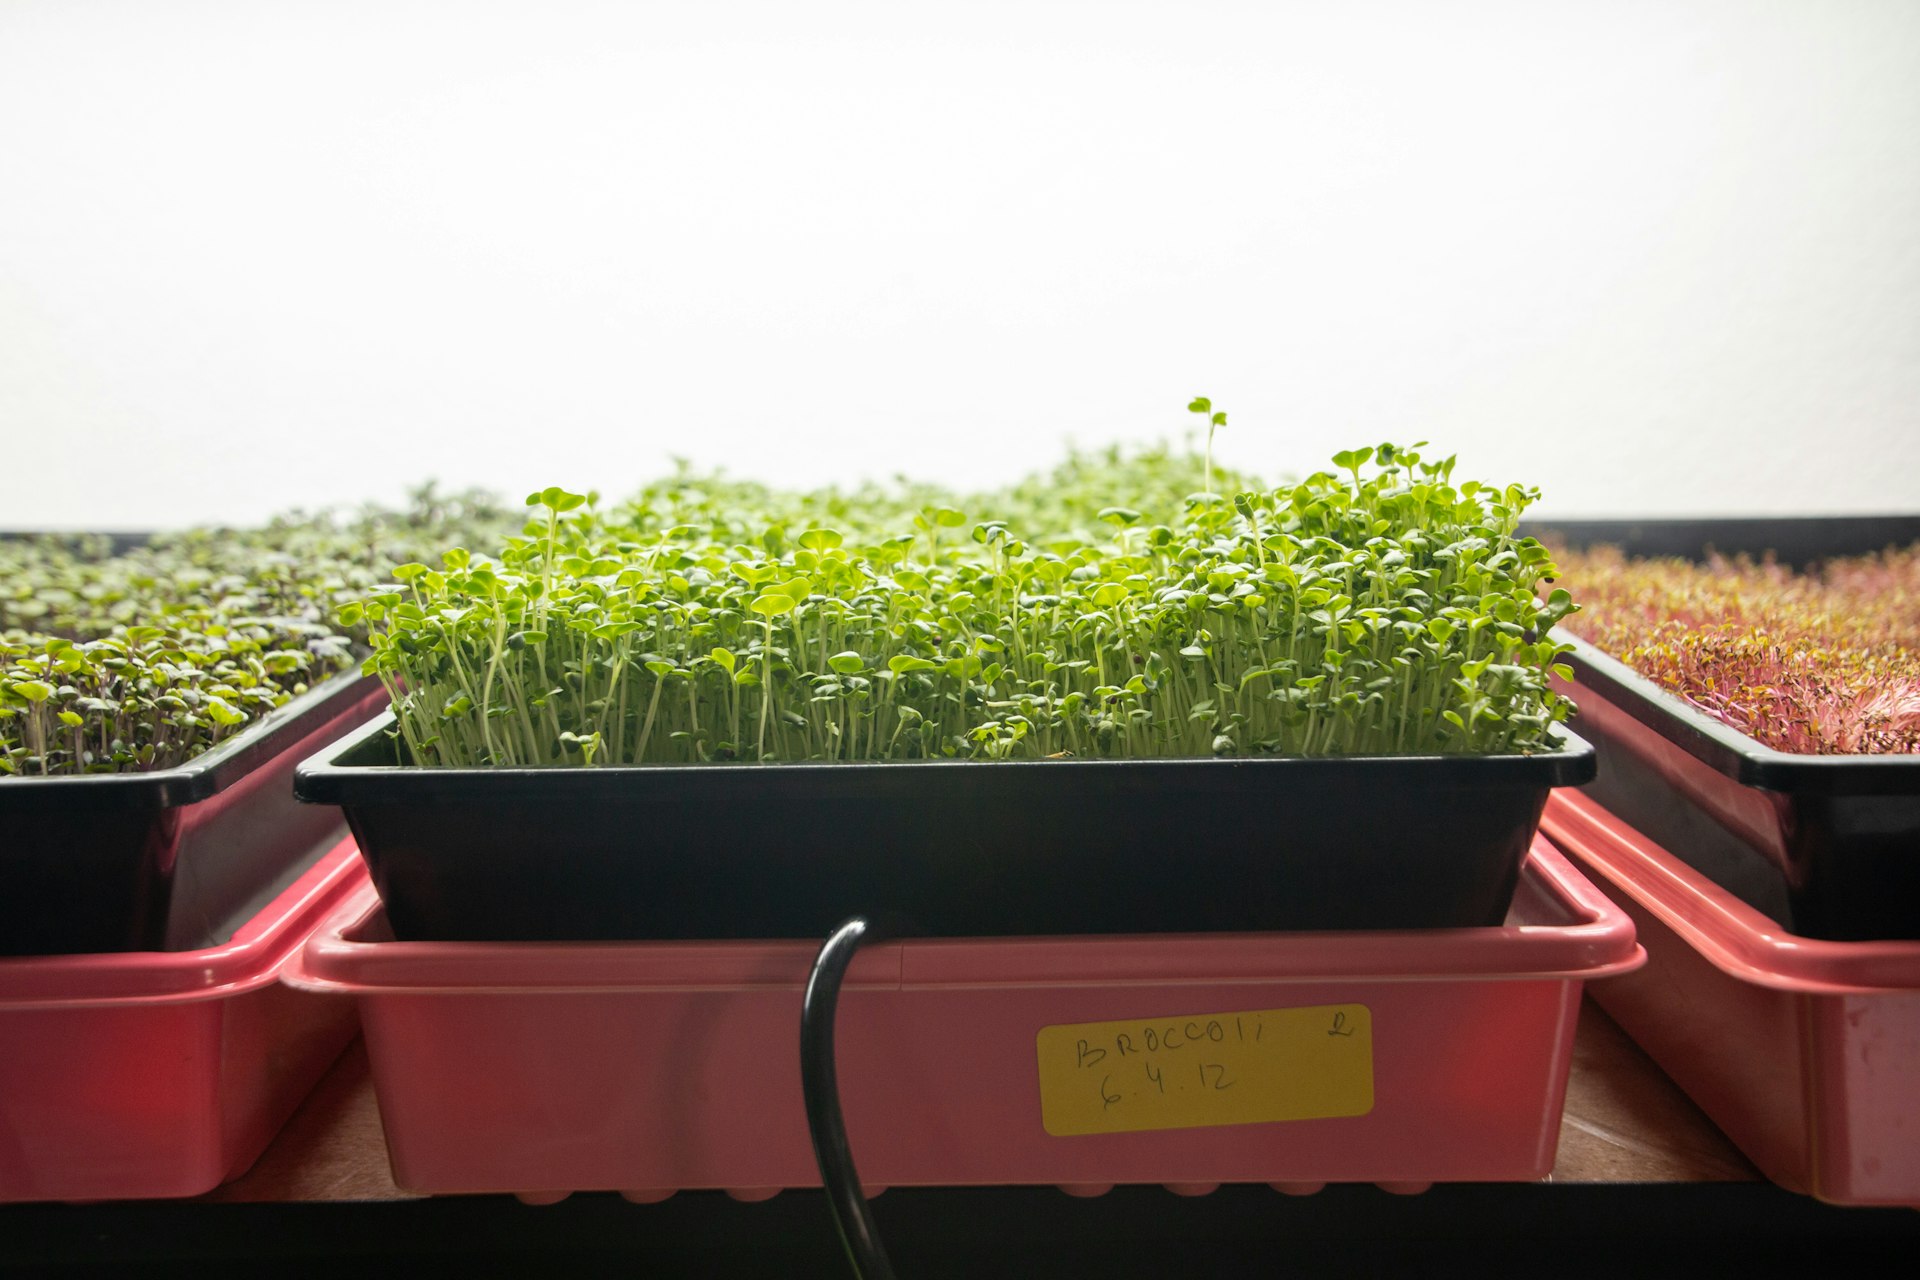
Choosing high-quality seeds is another critical aspect of growing microgreens. Varieties such as radish, kale, and basil are popular choices, each bringing unique flavors and nutritional benefits. It is advisable to source seeds specifically labeled for microgreens to enhance germination and growth quality. Additionally, some growers prefer to experiment with a variety of seeds to discover which ones thrive best in their specific setup.
Once the supplies are gathered, it is important to establish a suitable growing environment. Microgreens thrive in bright, indirect light or under grow lights, which should ideally be on for 12 to 16 hours a day. Maintaining a temperature range between 70°F to 75°F supports optimal germination and growth rates. With the right equipment and conditions, you are well on your way to beginning your microgreens journey at home.
Planting and Caring for Microgreens
The process of planting microgreens is both straightforward and rewarding, starting with the selection of appropriate seeds. Common choices include arugula, radish, and basil, each providing unique flavors and nutritional benefits. Begin by evenly spreading the seeds over a prepared growing medium. Aim for a seed density that allows for healthy growth; typically, a quarter to half-inch spacing between seeds will suffice. Cover the seeds lightly with soil to ensure proper contact and moisture retention.
Watering is a crucial aspect of microgreen care. After planting, the seeds need consistent moisture to germinate effectively. Use a gentle spray bottle or a watering can with a fine spout to avoid displacing the seeds. Keep the soil consistently moist but avoid waterlogging, as excessive moisture can lead to mold growth. It is advisable to water the microgreens daily, particularly in their early growth stages.
Light exposure plays a significant role in the growth of microgreens. Place the trays in a location where they can receive indirect sunlight for a minimum of 12 to 16 hours a day. If natural light is insufficient, consider using grow lights positioned a few inches above the seedlings. Rotate the trays regularly to ensure even growth, as microgreens may stretch towards the light source, resulting in leggy plants.
While growing, it is essential to monitor for common issues such as mold or inadequate light. Mold can be mitigated by ensuring good air circulation and avoiding over-watering. If the microgreens grow tall and spindly, it indicates they are not receiving enough light. In these cases, provide additional lighting or adjust their position. Typically, microgreens are ready for harvest within 7 to 21 days after sowing, depending on the variety. By closely following these steps and maintaining optimal growing conditions, anyone can cultivate a healthy crop of microgreens at home.
Harvesting and Using Microgreens
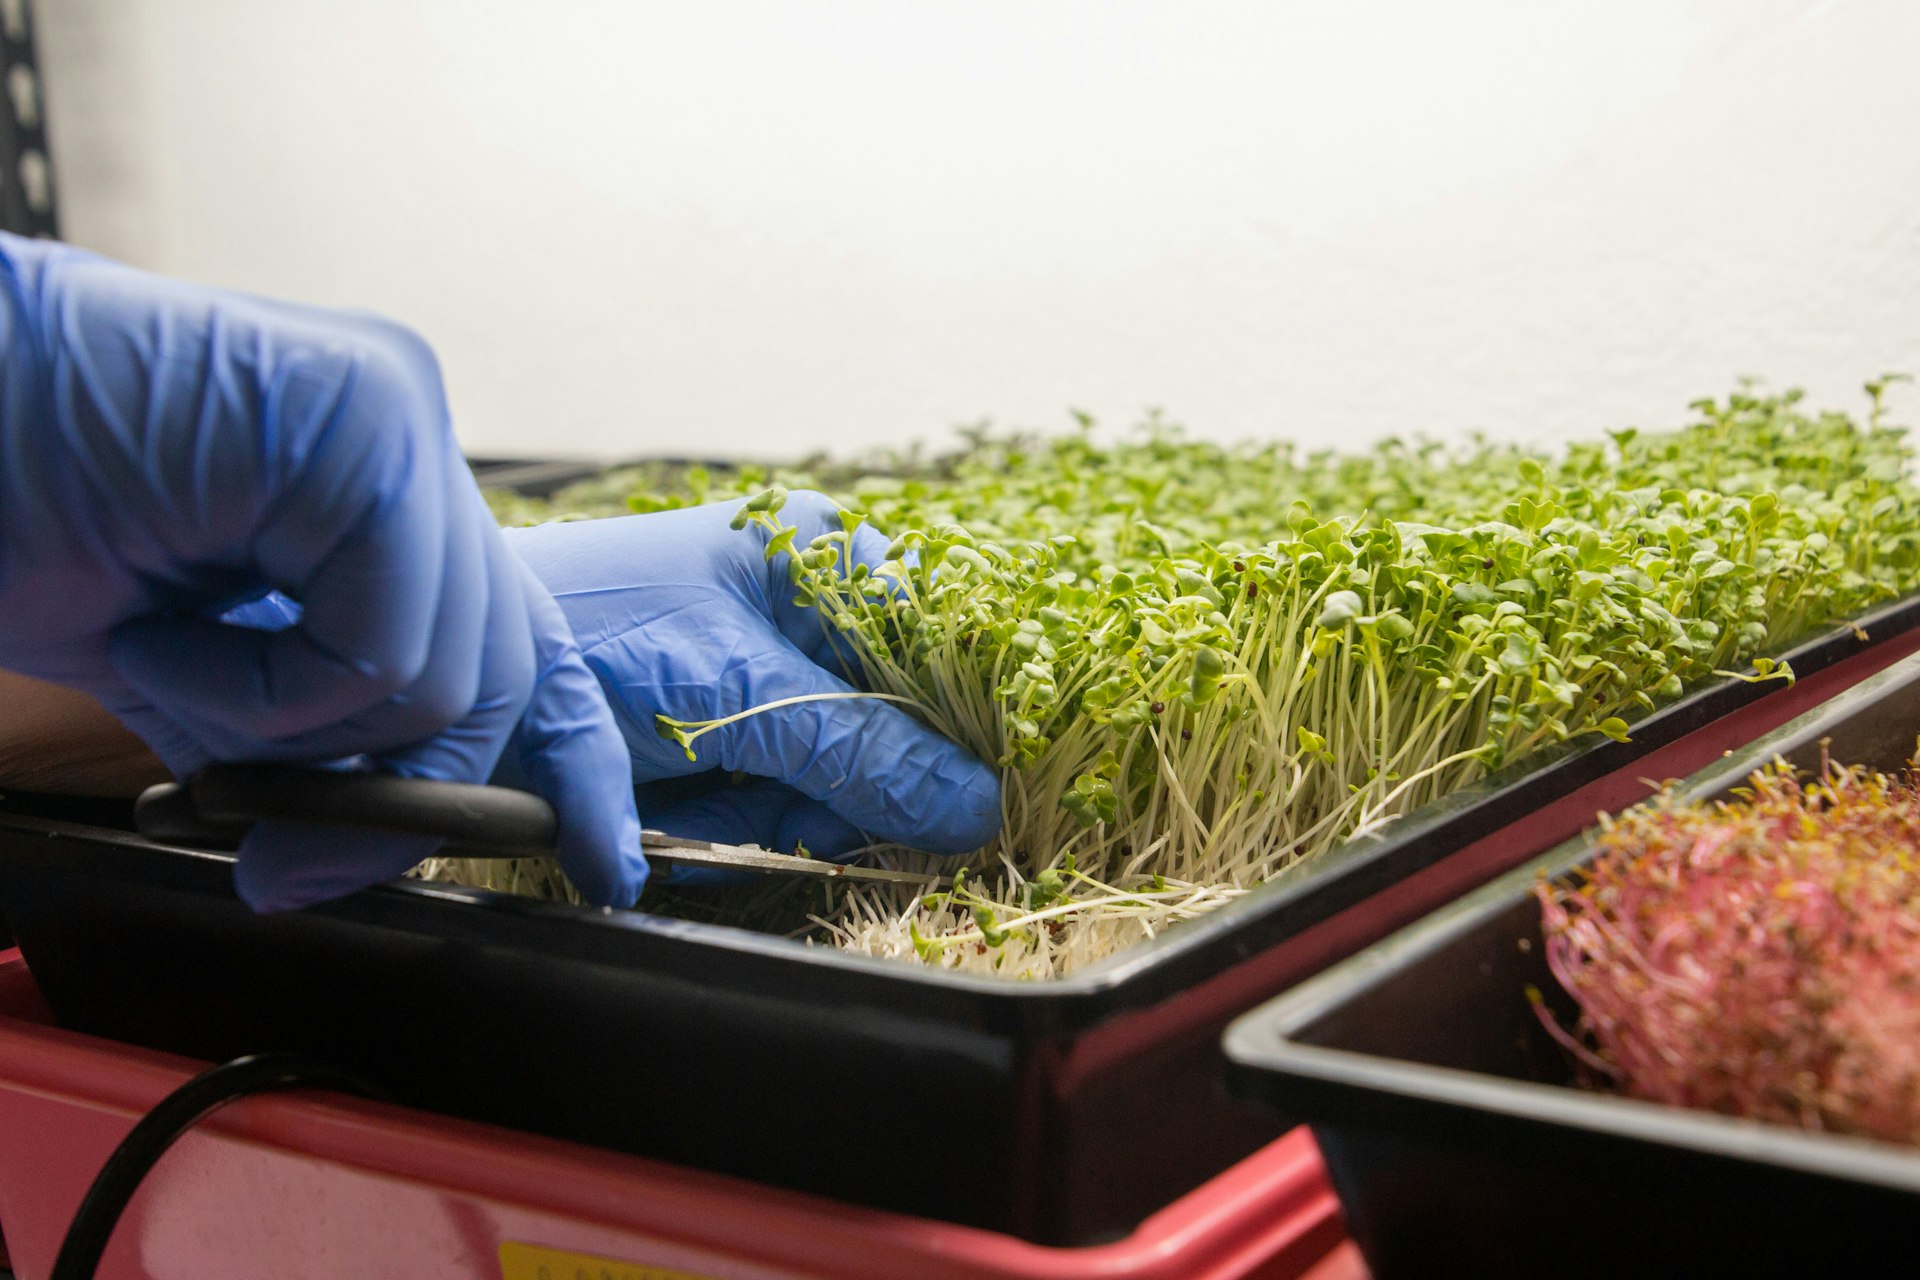
Harvesting microgreens is a critical step that profoundly influences both their flavor and freshness. To ensure optimum taste and nutritional value, microgreens should be harvested at the right stage. Typically, this stage occurs when the first true leaves, known as cotyledons, have developed. For most varieties, this is usually 7 to 14 days after sowing. It's important to use clean, sharp scissors or shears for cutting, as this minimizes damage to the remaining roots, allowing for successive harvests in some types of microgreens.
When cutting, aim to harvest close to the soil line, ensuring that the leaves are intact and unharmed. After harvesting, rinse the microgreens gently in cold water to remove any soil residue. Once cleaned, they can be patted dry using a paper towel or a salad spinner to remove excess moisture, which helps to prolong their shelf-life.
Incorporating microgreens into your daily meals can be both simple and creative. These tiny greens pack a punch of flavor and nutrition, making them a versatile addition to many dishes. For a refreshing salad, combine various microgreens with a tangy vinaigrette, nuts, and seasonal vegetables. They can also be added to sandwiches or wraps, lending a crunchy texture and vibrant color. For smoothies, microgreens can be blended seamlessly with fruits and other greens, enhancing both the nutrient profile and flavor without overpowering the drink.
In addition to these culinary uses, microgreens can serve as exquisite garnishes for soups or entrees, elevating the presentation of any dish. When it comes to storage, keeping harvested microgreens in a breathable container in the refrigerator will help maintain their freshness. They generally last up to a week when properly stored. By experimenting with different culinary applications and storage techniques, home growers can maximize the enjoyment of their homegrown microgreens.